Image Segmentation
[ ]:
%matplotlib ipympl
import matplotlib.cbook as cbook
import matplotlib.pyplot as plt
import numpy as np

from mpl_interactions import image_segmenter
[ ]:
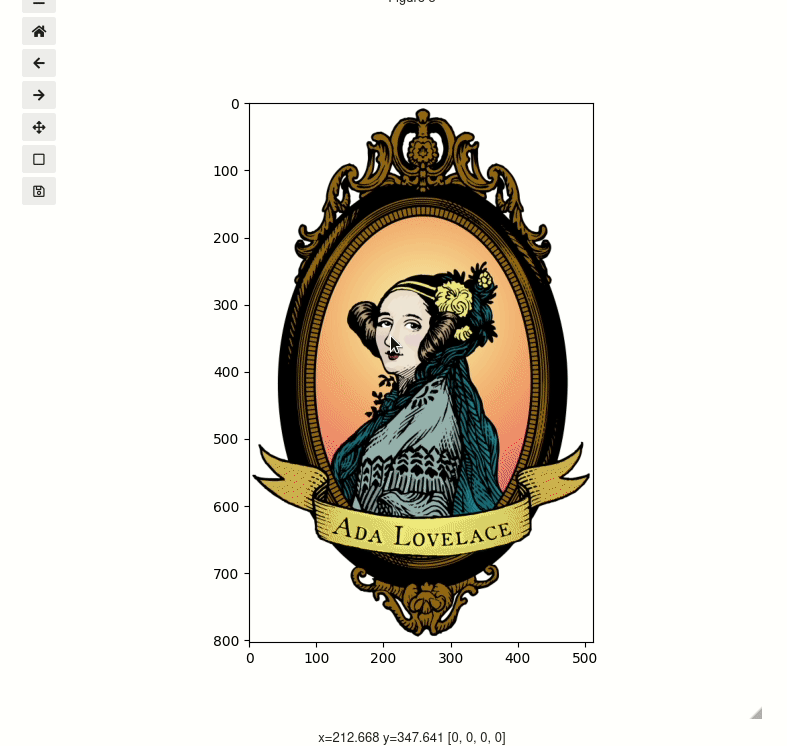
# load a sample image
with cbook.get_sample_data("ada.png") as image_file:
    image = plt.imread(image_file)
Single class
Click and drag to select regions. You can also scroll to zoom and middle click to pan.
[ ]:
segmenter = image_segmenter(image, mask_colors="red", mask_alpha=0.76, figsize=(7, 7))
display(segmenter)
[ ]:
segmenter.erasing = True
Erasing
To start erasing instead of selecting more simply set segmenter.erasing = True. Run the following cell then try to lasso an area you have already selected
Looking at the mask.
The mask is transparently accessible via segmenter.mask. 0 is used as the value of unselected regions.
[ ]:
segmenter.mask
[ ]:
plt.figure()
plt.imshow(segmenter.mask)
Multiple classes
To use multiple classes set nclasses to be larger than 1. By default the tab10 color set will be used, and if that is not enough the xkcd color named colors will be used. Or you can pass a list of colors.
[ ]:
multi_class_segmenter = image_segmenter(image, nclasses=3, mask_alpha=0.76)
display(multi_class_segmenter)
Change the class by changing the current_class variable
run the below cell and then try selecting again
[ ]:
multi_class_segmenter.current_class = 3
[ ]:
plt.figure()
plt.imshow(multi_class_segmenter.mask)
pre-seed a mask
You can also load an existing mask. You will need to ensure that it does not have values greater than nclasses and that it has the same shape as the image. There are currently no safegaurds for this and when there are exceptions in a matplotlib callback they can be hard to see in the notebook - so be careful!
If you run the below cell the image should show up with the premade mask already applied!
[ ]:
mask = np.load("ada-mask.npy")
preloaded = image_segmenter(image, nclasses=3, mask=mask)
display(preloaded)

Styling
imshow parameters
You can modify the display of the image using any kwargs accepted the imshow command. For example if we convert our example image to gray-scale then we can choose the colormap with the cmap argument.
[ ]:
from ipywidgets import HBox

grayscale_image = image.mean(axis=-1)
gray = image_segmenter(grayscale_image, nclasses=3, mask=mask, figsize=(5, 5), cmap="gray")
display(gray)
plasma = image_segmenter(grayscale_image, nclasses=3, mask=mask, figsize=(5, 5), cmap="plasma")
display(plasma)
LassoSelector line
You can change the appearance of the LassoSelector line using the lineprops kwarg. So to make the line very thick and red:
[ ]:
lineprops = {"color":"red", "linewidth":10}
gray = image_segmenter(grayscale_image, nclasses=3, mask=mask, figsize=(5, 5), cmap="gray",lineprops = lineprops)
display(gray)
[ ]: